How to Attach an Aluminum Patio Cover Safely
Attaching a newly built aluminum patio cover to your house means creating a secure connection between the cover’s wall-side ledger and the home’s structural framing. The work typically involves permits, accurate layout, approved fasteners, weatherproof flashing, proper drainage, and careful inspection. Because mistakes can cause leaks or structural damage, many homeowners hire a qualified contractor.
Can you attach an aluminum patio cover to a house?
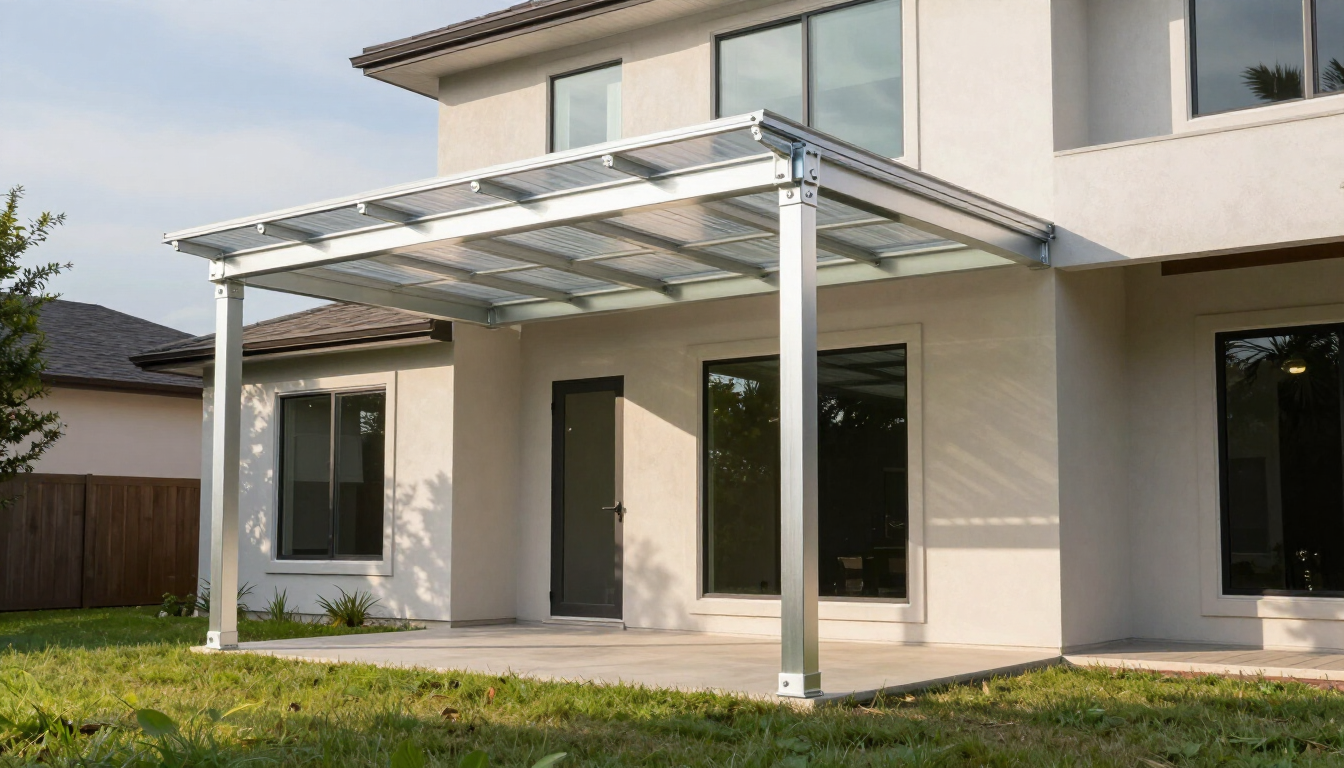
Yes, an aluminum patio cover can usually be attached to a house, but the connection must be designed for the home’s construction, local weather, and the cover manufacturer’s specifications. The ledger should connect to structural framing—not merely siding, brick veneer, stucco, or trim.
Before work begins, confirm:
- Whether your city or county requires a building permit
- Where wall studs, rafters, trusses, or a structural beam are located
- How the roof or wall covering will be flashed and sealed
- Whether the house can support the proposed attachment
- How water will drain away from the home
For homeowners in the Greater Houston area, local requirements and heavy rain conditions make planning especially important. Review Lone Star Patio Covers & Enclosures’ aluminum patio cover services to see how a professional installation can be planned around your home.
What should you check before installation?
Confirm the design and attachment point
Start with a scaled layout showing the patio cover’s width, projection, roof slope, posts, gutters, and attachment height. The cover should provide the desired shade without interfering with windows, doors, vents, utility lines, or existing roof drainage.
The attachment point should be selected after identifying the home’s structural members. A contractor may inspect the attic, wall framing, rim joist, header, or masonry condition. The correct connection depends on whether the house has wood framing, masonry, concrete, or another construction type.
Check permits and utility conflicts
Permit requirements vary by municipality and project size. Your contractor should verify setbacks, lot coverage, wind requirements, snow or rain loads where applicable, and inspection stages before installation.
Also check for:
- Electrical lines, exterior lights, and outlets
- Gas meters, hose bibs, and HVAC equipment
- Windows, doors, vents, and soffits
- Property-line and drainage restrictions
A permit is not a substitute for proper construction, but it helps confirm that the project follows applicable code requirements.
How is an aluminum patio cover attached to a house?
The general process includes these steps:
- Measure and mark the ledger location. The installer establishes the finished height, roof slope, and post positions.
- Locate structural framing. Fasteners are aligned with studs, rafters, beams, rim joists, or other approved structural members.
- Prepare the wall surface. Siding, trim, or other materials may need to be removed or carefully cut so the ledger sits correctly.
- Install the ledger. Approved structural screws, bolts, or anchors are used according to the engineered design and manufacturer instructions.
- Add flashing and sealant. The connection is protected from wind-driven rain and runoff.
- Assemble the roof and posts. Aluminum beams, rafters, panels, columns, and braces are installed and checked for alignment.
- Complete drainage and inspection. Gutters, downspouts, trim, and required inspections are finished before use.
The exact hardware and sequence should never be guessed. Fastener size, spacing, embedment, and type must match the substrate and approved design.
Why are flashing and waterproofing so important?
The ledger connection creates a potential path for water to enter the wall. Even a strong attachment can become a long-term problem if water gets behind siding, brick veneer, stucco, or trim.
A durable installation typically considers:
- A continuous transition that directs water away from the wall
- Compatible flashing materials and sealants
- Proper overlaps and end details
- Clearance from surfaces that can trap moisture
- Gutters and downspouts that discharge away from the foundation
Do not rely on a bead of caulk as the only waterproofing method. Sealant can shrink, separate, or lose adhesion over time. The wall assembly needs a water-management strategy, not just surface protection.
Common attachment mistakes
Several shortcuts can reduce the safety and service life of a patio cover:
- Fastening only to siding, fascia, or decorative trim
- Using generic screws instead of approved structural fasteners
- Blocking weep holes or covering required drainage paths
- Installing flashing over, rather than integrating it with, the wall system
- Ignoring roof runoff and directing water toward the house
These mistakes may not be obvious when the project is new. Leaks, movement, corrosion, and wall damage can appear months or years later.
Should you attach the cover yourself?
A capable homeowner may be able to handle limited assembly, but attaching the structure to a house is more demanding than assembling a freestanding shade structure. It involves structural judgment, weatherproofing, ladder or lift work, and compliance with local requirements.
Professional installation is usually the better choice when:
- The wall is masonry, stucco, stone, or brick veneer
- The house has unusual framing or a complex roofline
- The cover is large, elevated, or exposed to strong wind
- You are uncertain where structural framing is located
- A permit, engineering review, or inspection is required
- You want the work covered by a contractor warranty
A qualified patio-cover contractor can coordinate the design, attachment, flashing, drainage, and finishing details as one system. Lone Star Patio Covers & Enclosures serves Houston and nearby communities, including Katy, Cypress, The Woodlands, Spring, Richmond, Pearland, and Clear Lake. You can contact the team to discuss your home and project goals.
Attached versus freestanding patio covers
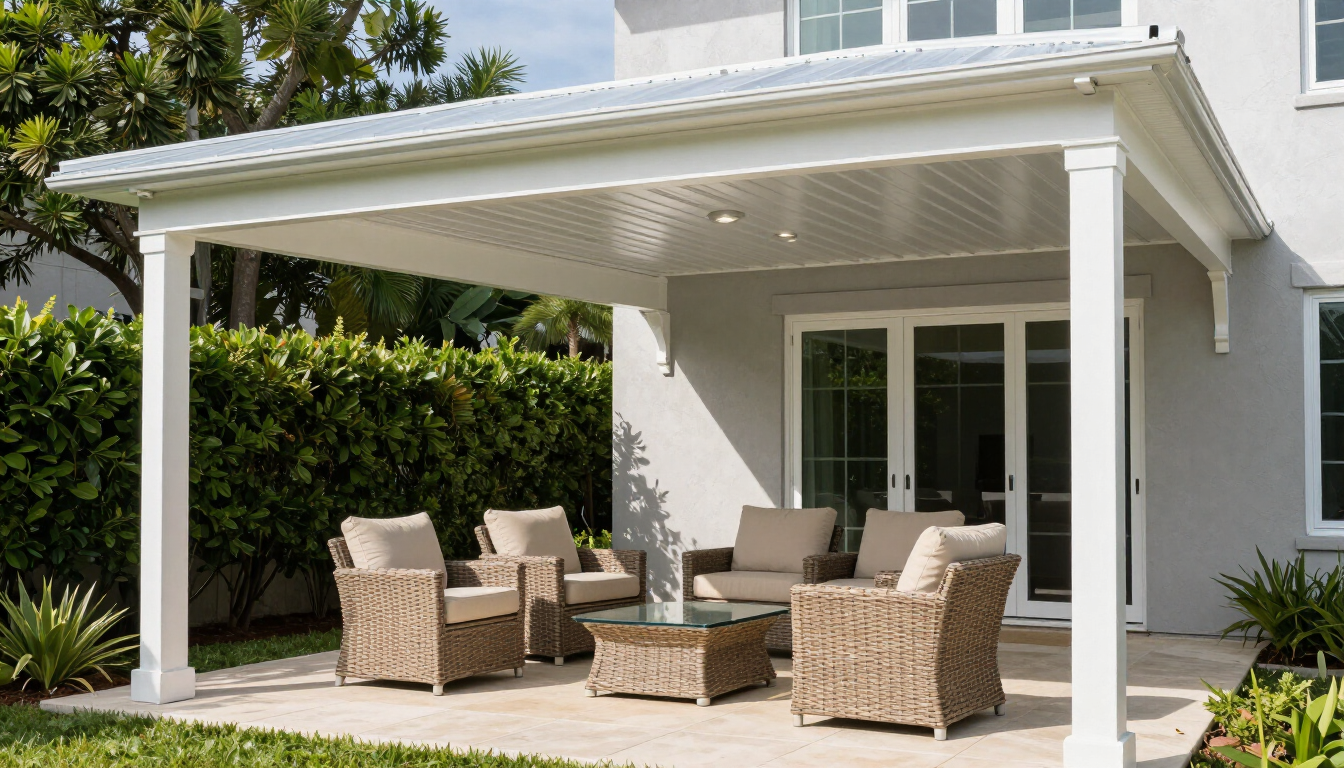
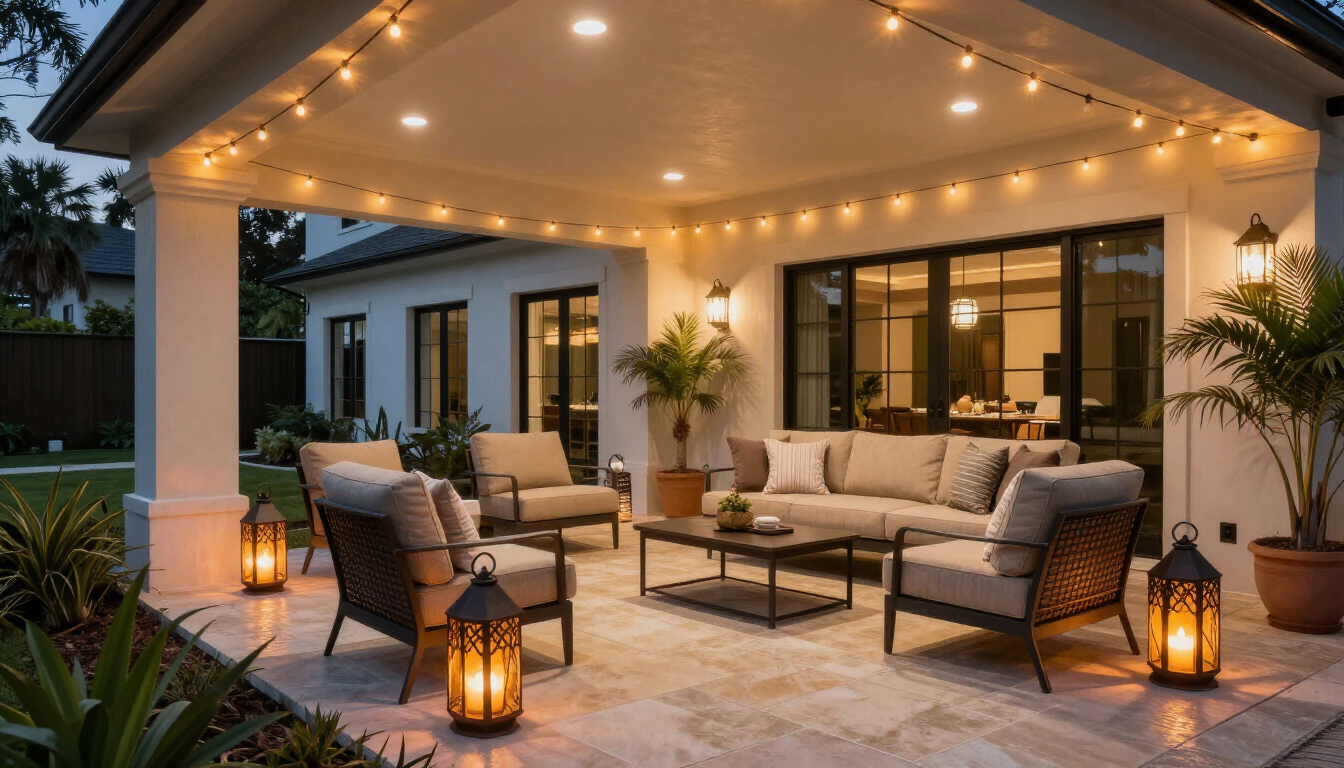
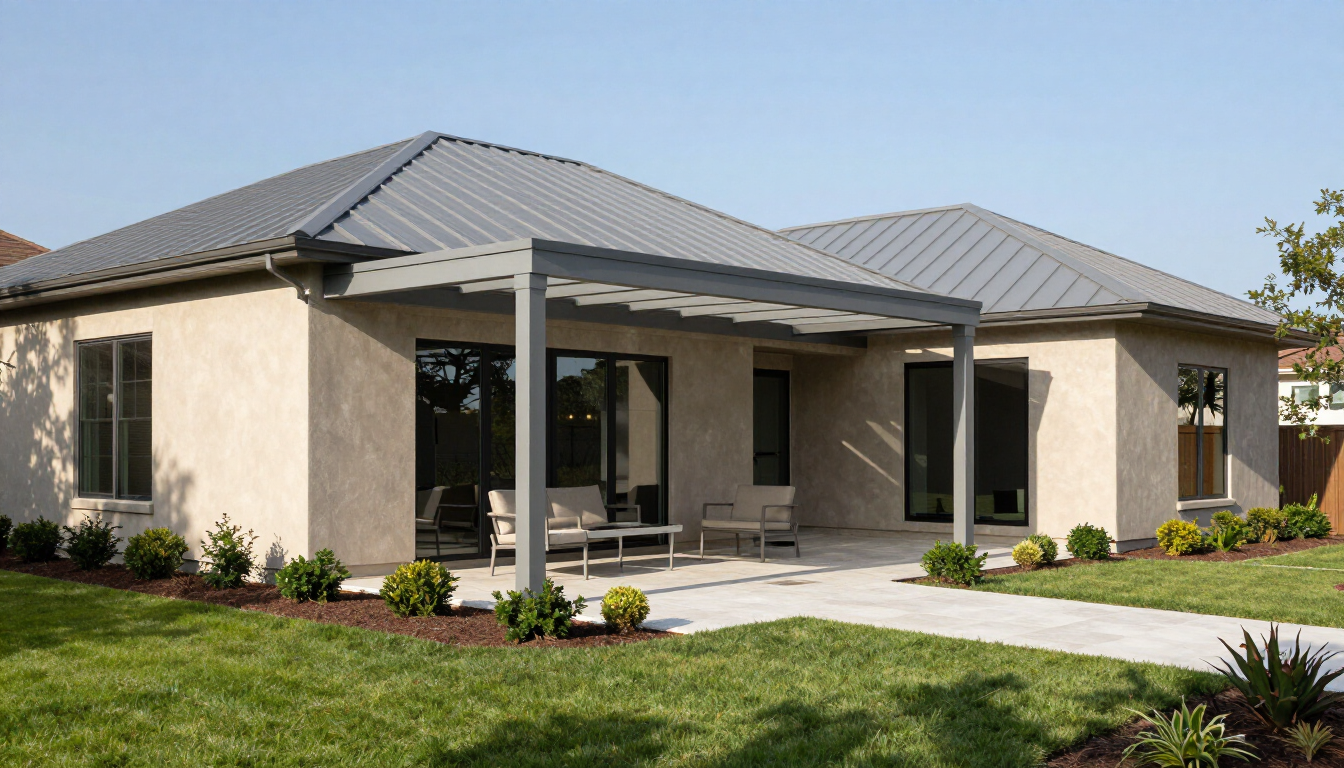
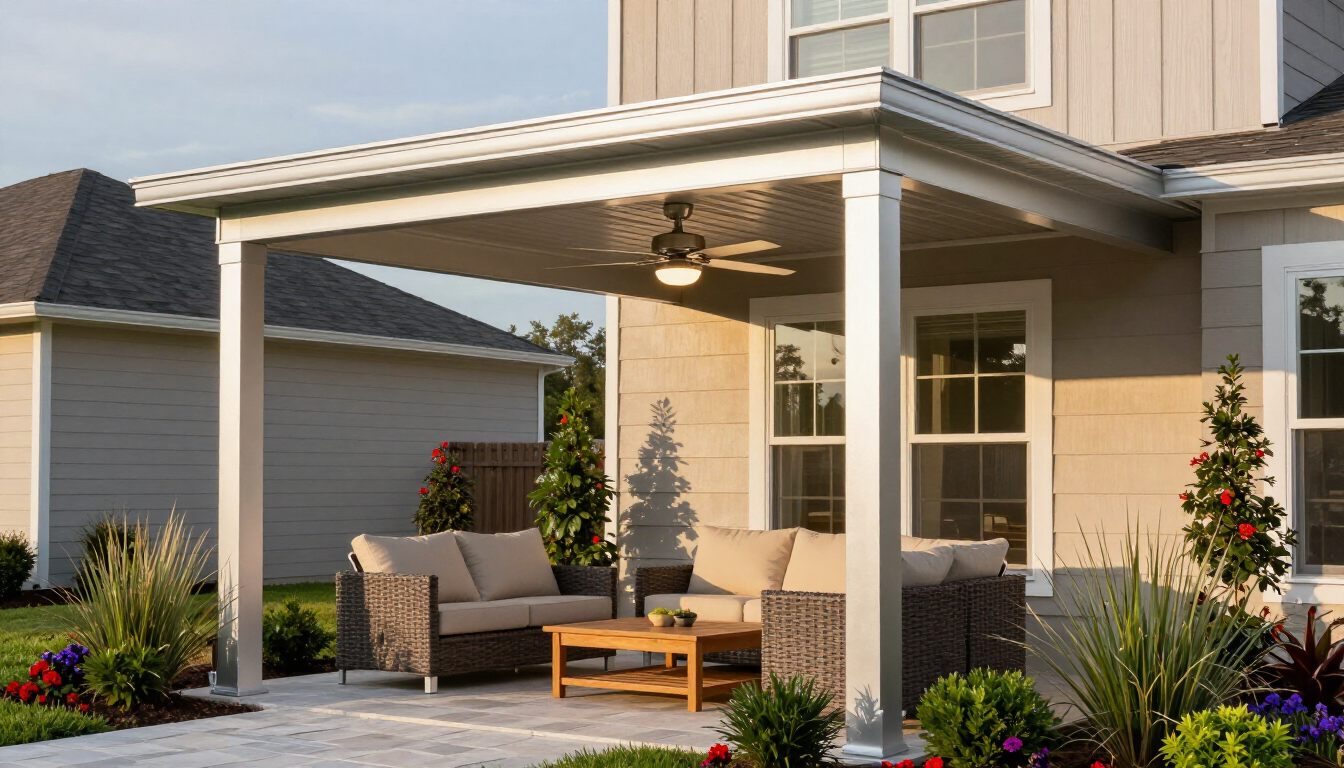
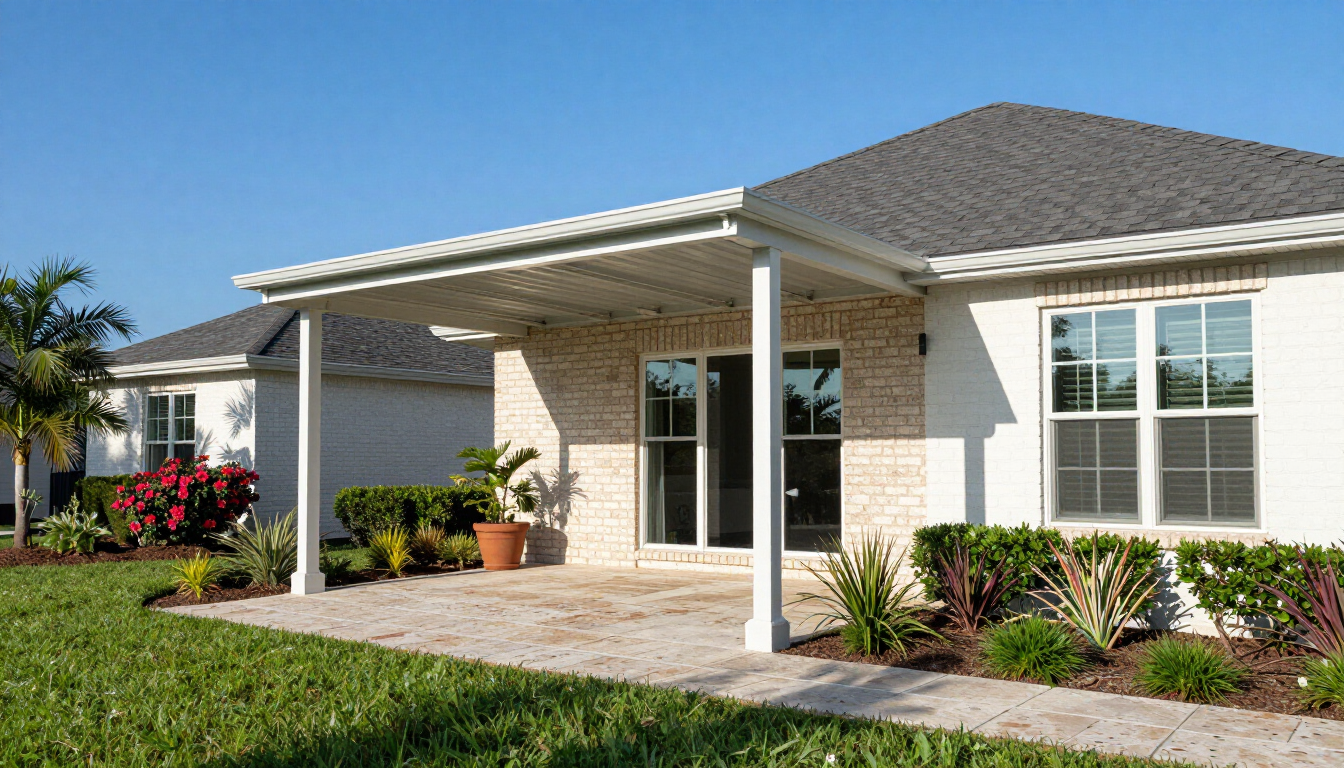
An attached cover connects to the home and can create a cohesive outdoor living area near a back door or patio. It often uses fewer front posts, but the house connection must be carefully designed and waterproofed.
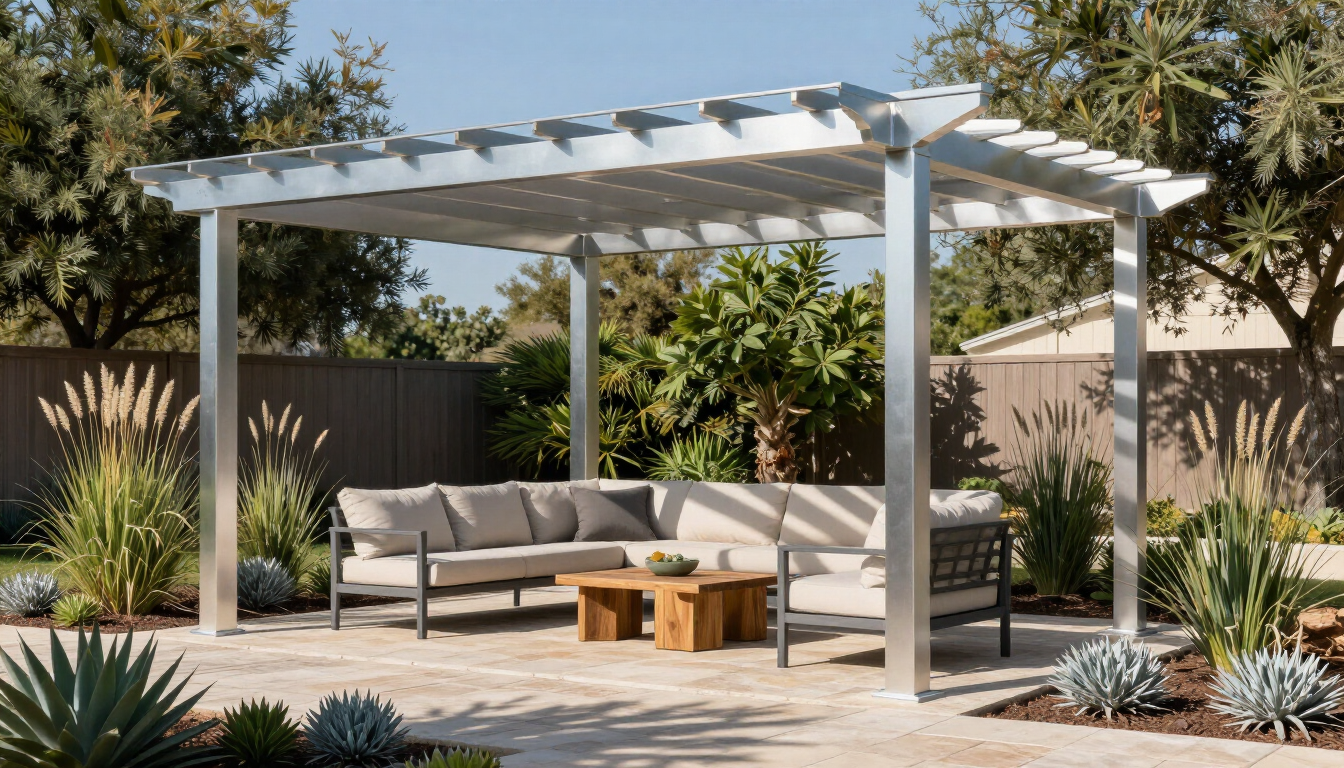
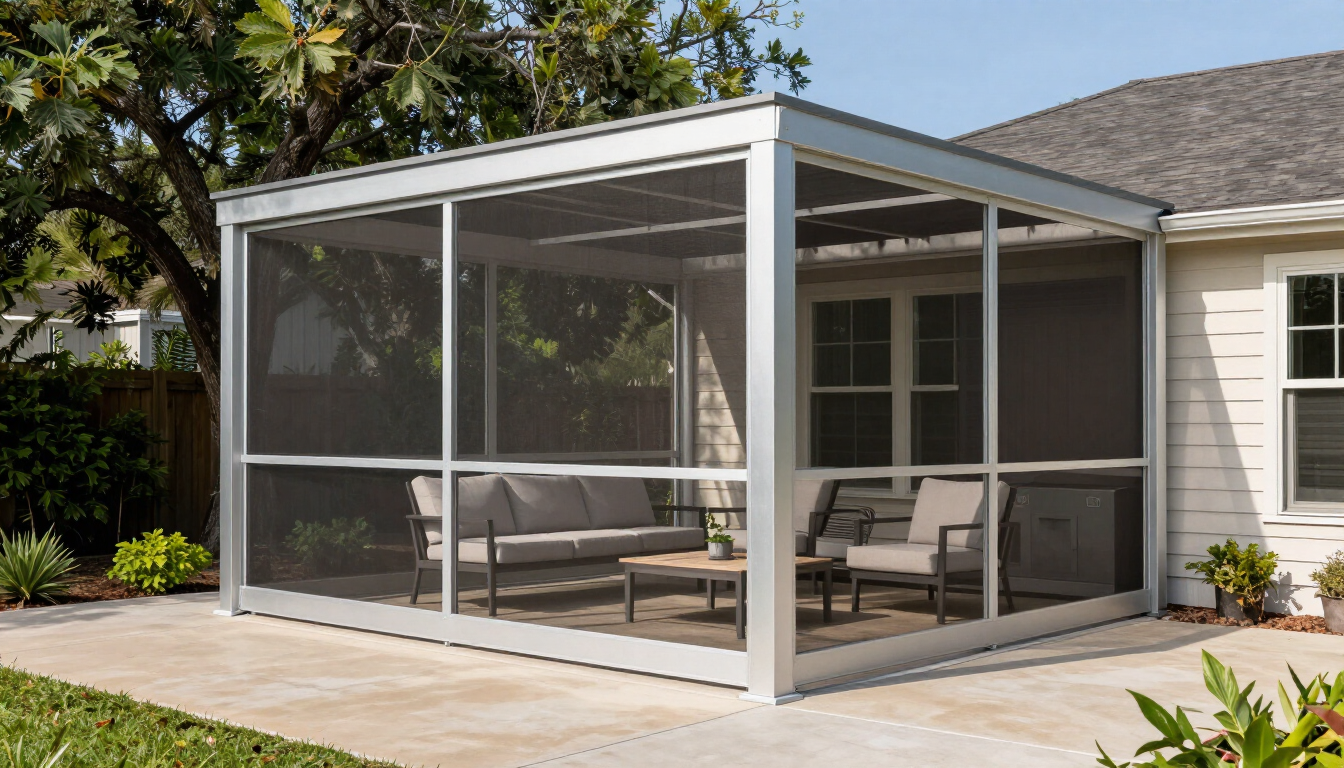
A freestanding cover stands independently on its own posts and footings. It may offer more flexibility when the home’s wall cannot accept an attachment, but it can require additional posts, space, and foundation work.
Explore patio cover options or compare them with aluminum pergolas if you want shade without a fully covered roof.
What should you ask an installer?
Before signing a proposal, ask:
- Where will the ledger connect to the home’s structure?
- What fasteners and spacing will be used?
- How will the wall be flashed and sealed?
- Who handles permits and inspections?
- Where will rainwater drain?
- What workmanship and material warranties apply?
Request a written scope that identifies the cover dimensions, roof style, colors, posts, gutters, attachment method, and cleanup responsibilities. Looking through completed patio cover projects can also help you evaluate design quality and finishing details.
Key takeaways
Attaching an aluminum patio cover to a house is practical when the connection is designed for the home’s structure and local conditions. The essential work includes locating solid framing, using approved fasteners, integrating flashing, managing roof runoff, and meeting permit requirements. If the wall construction, attachment point, or waterproofing details are uncertain, have a qualified contractor evaluate the project. Start by comparing your desired shade, drainage, and layout needs, then ask for a detailed proposal before construction begins.